Headless Commerce with BigCommerce
Recently, we’ve been getting lots of questions from clients and prospects around headless commerce options and opportunities. As a BigCommerce partner, we regularly explore the latest offerings to stay abreast of the ever changing landscape of e-commerce. Before recommending that one of our clients implement a new solution like headless commerce with BigCommerce, I like to dive into the technology and take it for a test drive. The Next.js Commerce integration with BigCommerce is a great place to get your feet wet and explore the possibilities afforded by headless implementations.
Starter App for Development
For our first foray into headless commerce with BigCommerce, we started with the Next.js Commerce starter-kit from Vercel. The folks at Vercel teamed up with BigCommerce to create a reference application to jump-start headless development. Getting started is as simple as cloning the repo and configuring it to connect to your BigCommerce store. I recently walked through the process and was off and running with a store in just a few hours. Let’s walk through the process I used for a proof-of-concept using Next.js Commerce with BigCommerce.
Prerequisites
Since we’re starting with a reference application, it helps to have some experience with the technologies in-play. At a minimum, you should have some experience with the following:
- Node Package Manager (npm)
- A Git provider
- BigCommerce APIs
- React and/or Next.js
Setting Up Your Dev Environment
First, I followed the instructions from BigCommerce to clone their headless demo application from Vercel. With these instructions, you can clone and deploy the headless reference application to Vercel and connect it to your BigCommerce store (or trial store) and Git provider. For my proof of concept application, I connected my local repository to BitBucket and a trial BigCommerce store. This part of the setup was straight-forward and I did not run into any issues.
Local Development
After cloning my new repo locally, I created a “.env.local” file to store the BigCommerce credentials that my local application would need to connect to my trial BigCommerce store. If you’ve never worked with BigCommerce API’s this part might be a little confusing, so I added a few tips below for gathering the right credentials. The end result for your .env.local file should look something like this:
					COMMERCE_PROVIDER=bigcommerce

BIGCOMMERCE_STOREFRONT_API_URL=https://store-3bramhof5y.mybigcommerce.com/graphql
BIGCOMMERCE_STOREFRONT_API_TOKEN=eyJ0eXAi...
BIGCOMMERCE_STORE_API_URL=https://api.bigcommerce.com/stores/3bramhof5y
BIGCOMMERCE_STORE_API_TOKEN=avecpmsot4t27f...
BIGCOMMERCE_STORE_API_CLIENT_ID=dqh25hz2jkehrgj1p...
BIGCOMMERCE_CHANNEL_ID=739132
BIGCOMMERCE_STORE_URL=https://bf-test.mybigcommerce.com/
BIGCOMMERCE_STORE_API_STORE_HASH=3bramhof5y
BIGCOMMERCE_STORE_API_CLIENT_SECRET=d2d35a1523df7b8f0a1d917...
Here are some quick tips for creating the BigCommerce API credentials you’ll need :
- To create the BIGCOMMERCE_STOREFRONT_API_URL you simply need to append “graphql” to your BigCommerce dashboard URL.
- To create the BIGCOMMERCE_STORE_API_TOKEN and BIGCOMMERCE_STORE_API_CLIENT_ID use these instructions. Choose the “Create V2/V3 API Token” option from your BigCommerce API Accounts page.
- To find the BIGCOMMERCE_CHANNEL_ID navigate to the channel manager page in your BigCommerce store admin area. Right click on the 3 dots and select Advanced Settings.
- To create the BIGCOMMERCE_STOREFRONT_API_TOKEN review these instructions and the “Send a Test Request” option at the bottom of the page to create your token. Use the store hash and BIGCOMMERCE_STORE_API_TOKEN (from step 2 above) on the settings tab to authorize the request. The body for my token request looks like this:
					{
  "channel_id": 1,
  "expires_at": 1660754247,
  "allowed_cors_origins": [
    "https://store-3bramhof5y.mybigcommerce.com"
  ]
}
Note: I used epochconverter to create a future expiry date.
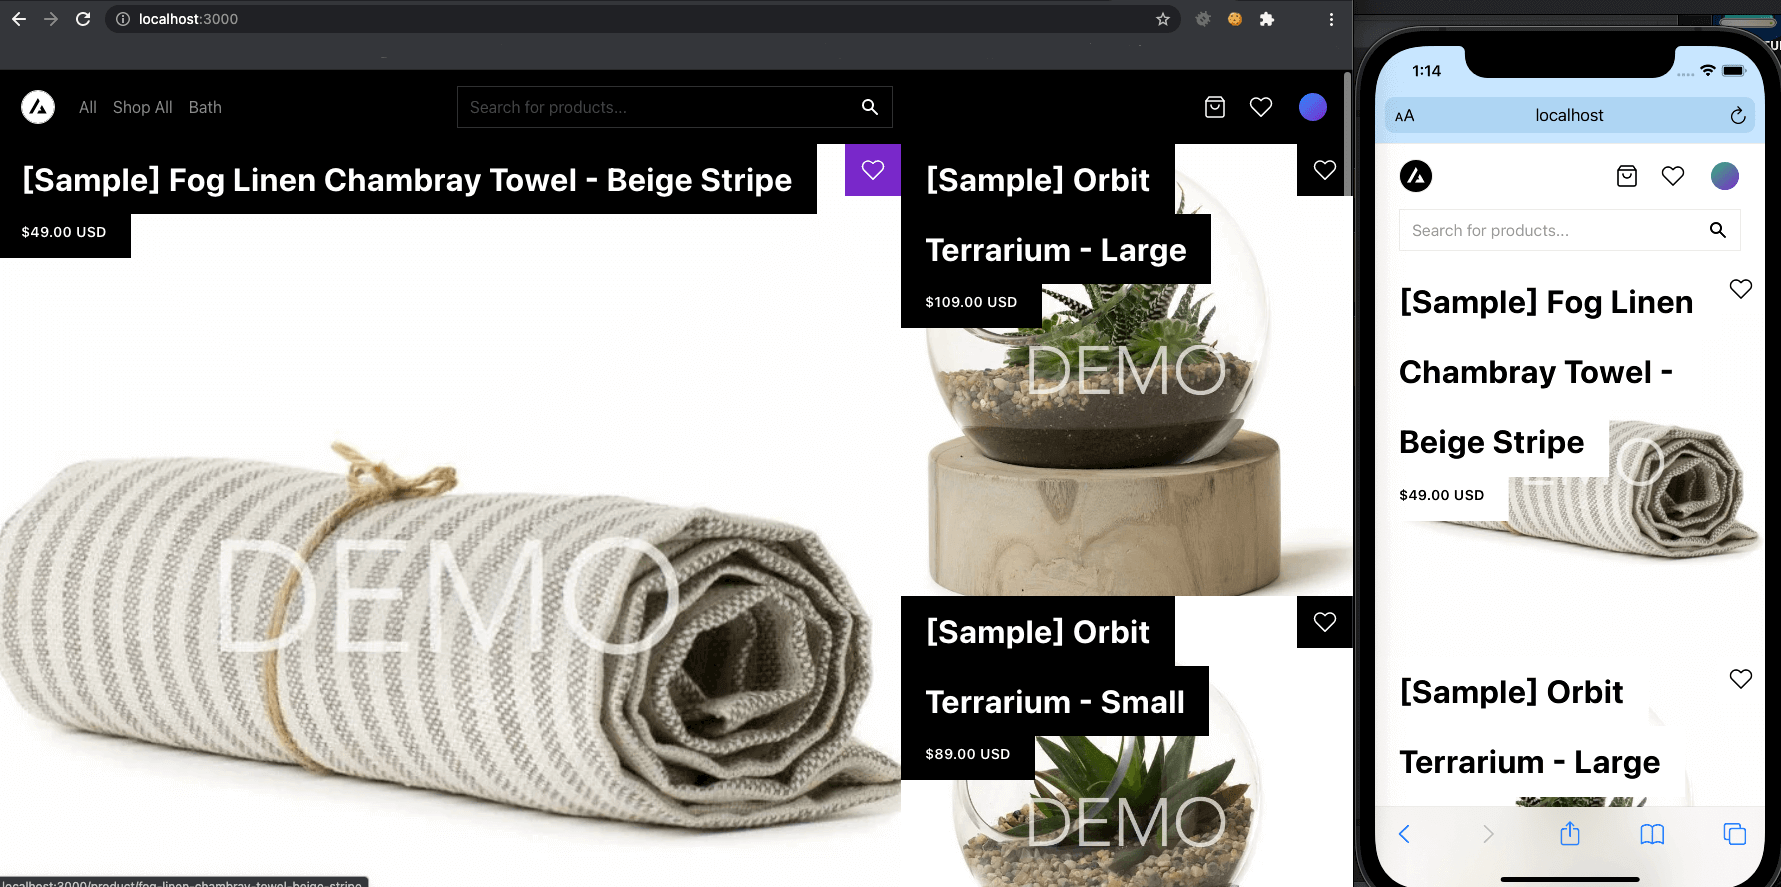
Now that you have your local environment correctly configured to use your BigCommerce store, you should test it out by running “npm run dev” from the root of your project. If there are any errors, the last line of output will point you to your log file. In my case, I was running on an older version of node, so I simply changed to a newer version of node (16.5.0) to get things running cleanly. If all goes well, visit https://localhost:3000 to view and test your headless application. This is what mine looks like:
Modifying Your Application
Let’s start with a really simple change to validate changes to our application. Open up config/seo.json and modify your store title, so it no longer references the sample “ACME” storefront. Refresh the browser to validate your changes. You can see in the screenshot below where my title is now “Nicki’s Headless Storefront”.

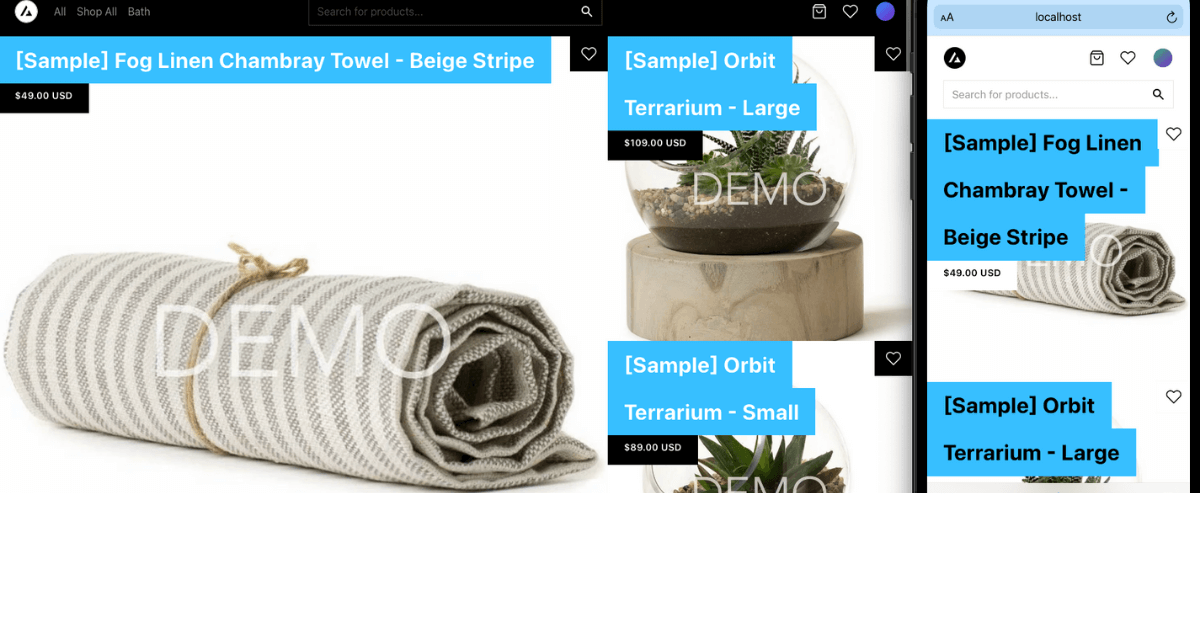
Next, let’s make a simple styling change to set the background color of product titles on the home page to sky blue. To get started, inspect one of the product titles in the browser to find the component name that you want to modify. In our case, we can see the name for that component is ProductTag.
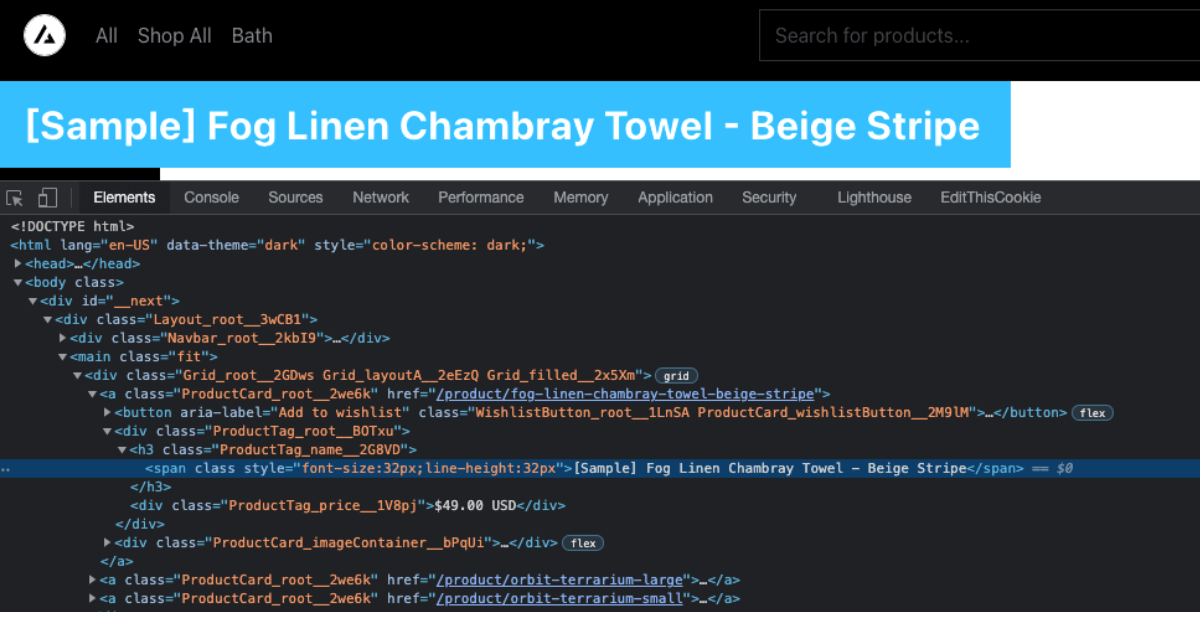
Now we should be able to find the component ProductTag and it’s related css file (components/product/ProductTag/ProductTag.module.css).
Our reference application uses TailwindCSS, so we can make this color change by simply changing the variable referenced by the span from bg-primary to something else. Let’s add a new color variable called sky-blue. To do this, we need to add a new entry in assets/base.css for sky-blue:
					  --blue: #0070f3;
  --sky-blue: #00bfff;

  --pink: #ff0080;
  --pink-light: #ff379c;
We’ll also need to tell TailwindCSS about this new variable in tailwind.config.js:
					       cyan: 'var(--cyan)',
        blue: 'var(--blue)',
        'sky-blue': 'var(--sky-blue)',
        green: 'var(--green)',
Next we need to change the css reference in the component css (components/product/ProductTag/ProductTag.module.css) for the ProductTag span element.
					.root .name span {
  @apply py-4 px-6 bg-sky-blue text-primary font-bold;
  min-height: 70px;
  font-size: inherit;
  ...
}
The end result should look something like this when viewing the home page.
Deploying Your Application
To deploy your app to Vercel, you simply need to push your latest changes to the “Main” branch. If you’d like to use a different branch to represent production, then you’ll need to login to your Vercel account and modify the Git settings production branch name.

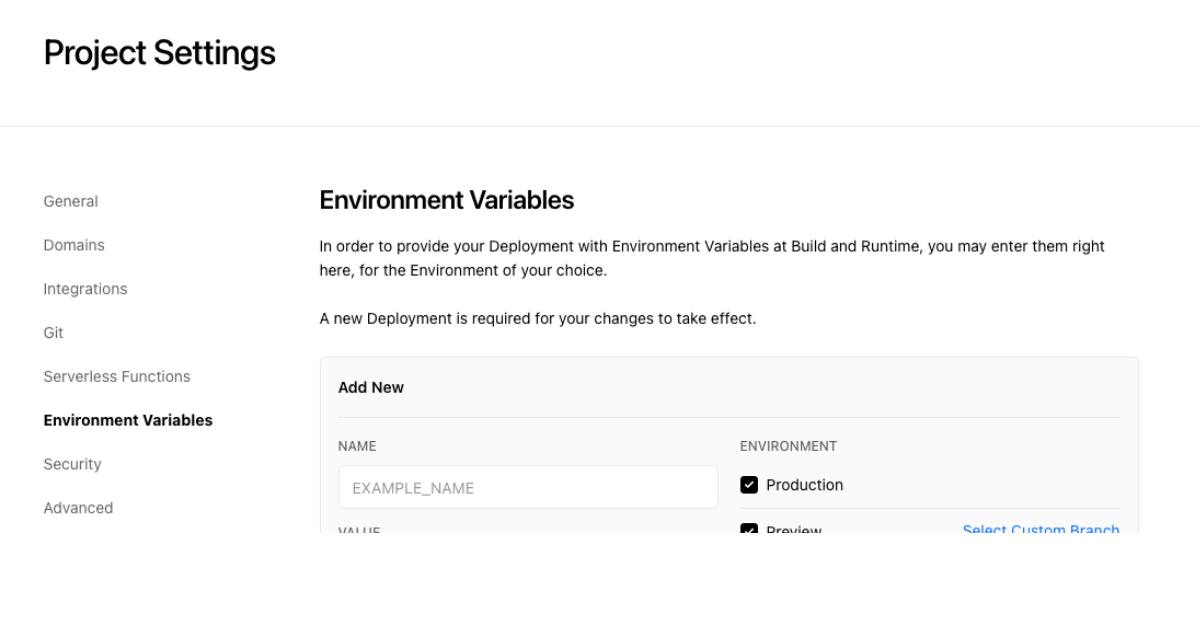
Once deployed, you can open the BigCommerce dashboard to verify your application. From the dashboard, select “View Storefronts” in the upper left corner of the navigation column. Next, select the Next.js Commerce storefront. Do you see the products from your BigCommerce store? In my case, I was seeing the hard-coded test products from the ACME implementation rather than the products in my trial store. To remedy this, log into Vercel and navigate to the Environment Variables page and add the variables you used to create .env.local, selecting the Production checkbox for each variable. Once complete, you’ll need to redeploy your application to the production branch. Next time you open your storefront, you should see the products from your BigCommerce store, rather than the ACME t-shirts.
What next?
Obviously, you won’t go headless with your ecommerce store to change titles and colors. Consider this exercise your “Hello World” intro to headless BigCommerce. Next time, I’ll dive deeper into modifying a headless implementation and how you can call into the BigCommerce APIs to customized your store. Let us know how we can help.


